
This post contains affiliate links.
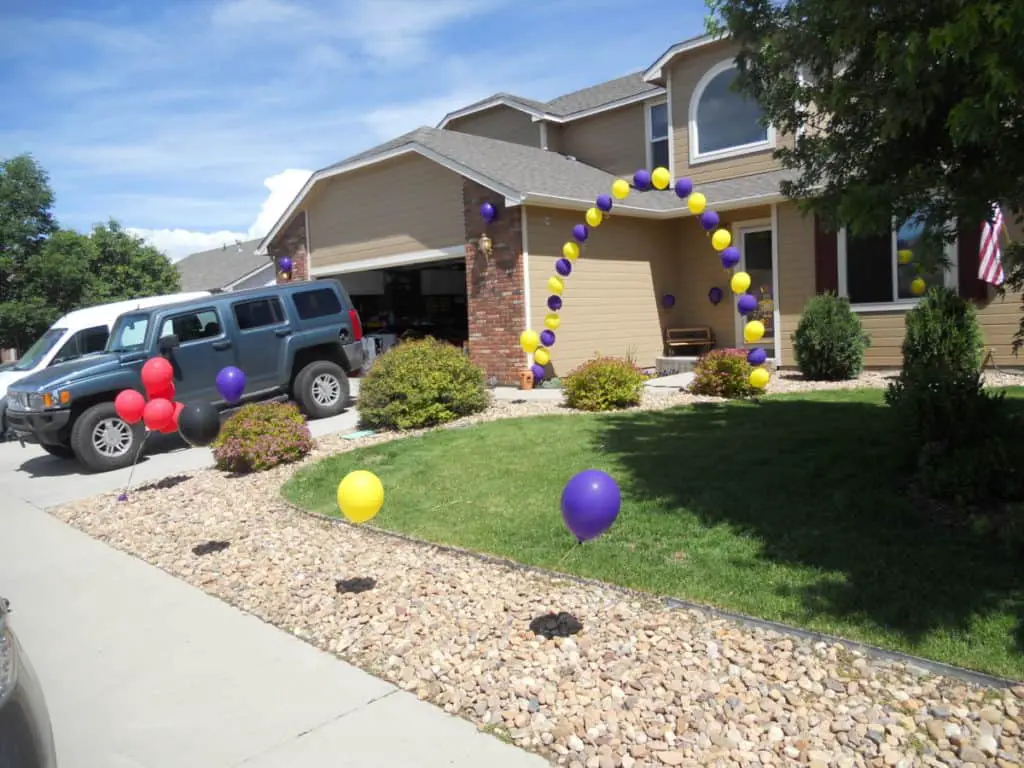

Have you ever seen a balloon arch that looked like it was magically floating? A floating balloon arch is a crowd-pleaser among balloon artists and customers alike.
What Is A Floating Balloon Arch
A floating balloon arch is a helium-filled arch that appears to float as if by magic. A floating balloon arch (String Of Pearl Arch), can be used anywhere a regular balloon arch can be used. They can be used to accent a doorway, a table, a dance floor, or anything else you want to accent.
How To Make A Floating Balloon Arch – How To Make A String Of Pearl Arch
What You Will Need:
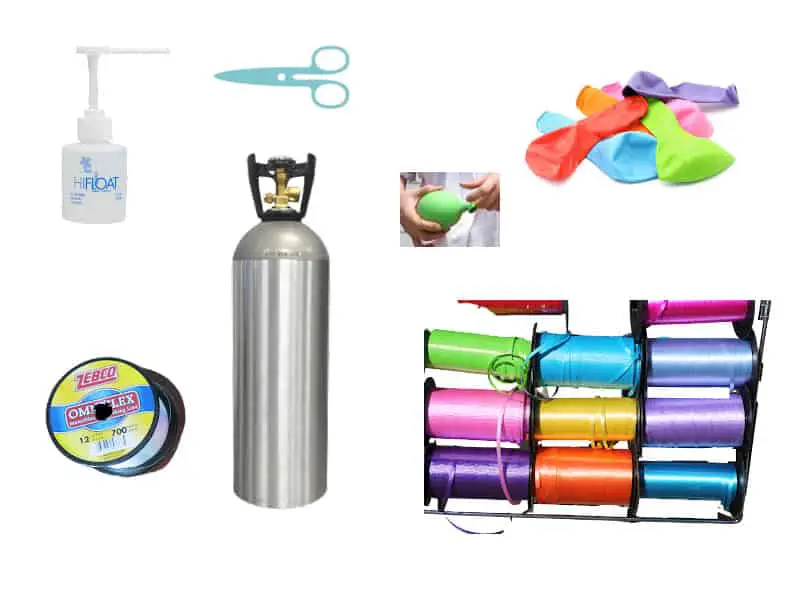
- Helium Tank
- 2 Balloon Weights
- 50lbs Fishing Line (for outside)
- 12lbs Fishing Line (for inside)
- 11″ Balloons (quantity depends on how big your finished arch will be)
- Scissors
- Hi-Float buy it here on Amazon (Optional)
- Ribbon (Optional)
Tie Fishing Line To Balloon Weight
Tie the end of your fishing line to one of your balloon weights.
The weight of your balloon weights and the weight of your fishing line will depend on where your finished arch will be. If your finished balloon arch is outside, you must use a heavier weight for each.
If you need more information about balloon weights, check out my post Balloon Weights: How To Use, Make, And How Heavey They Need To Be.
Pro Tip: Wear an apron with pockets while balloon decorating, attach the first balloon weight to the end of the fishing line, and then place the roll of the fishing line in the pocket of your apron. This way you can add balloons without the roll unraveling while you are working. Slowly pull out as much fishing line as you need worry-free. You are welcome!
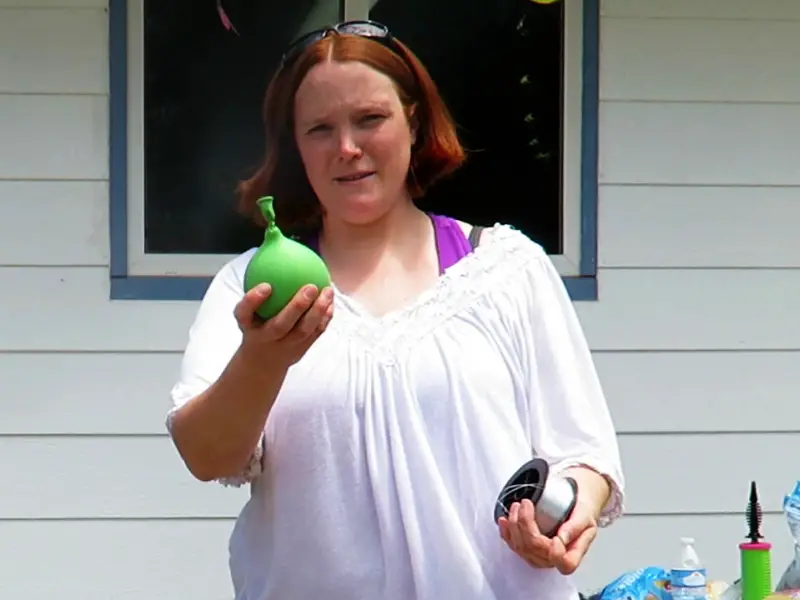
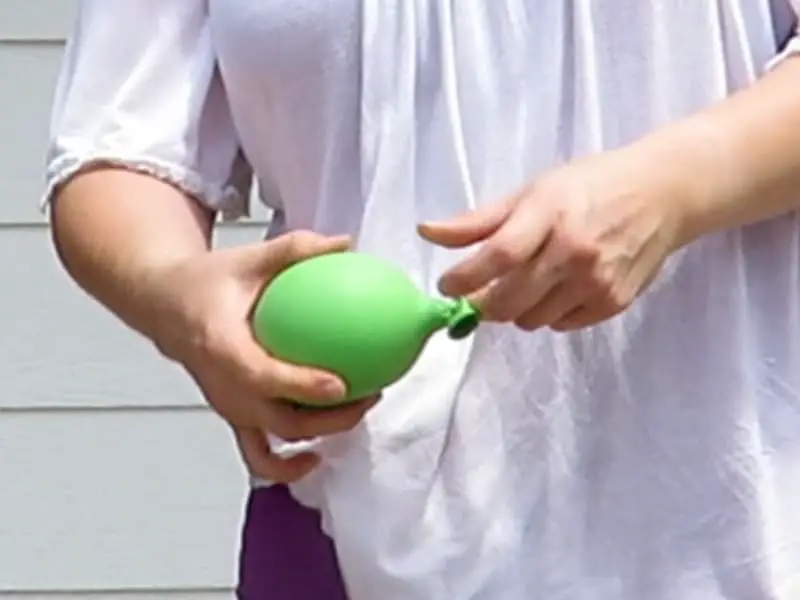
Treat Balloons With Hi-Float (Optional)
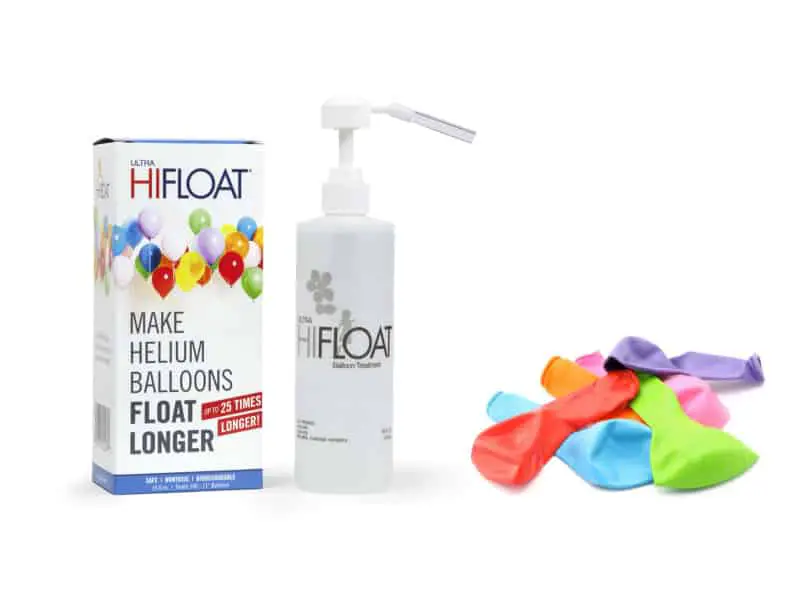
This is an optional step but if you want your balloon creations to last more than a couple of hours, you will want to use this step.
Place the appropriate amount of Hi-Float (per the balloon’s size) in the balloon’s belly. Massage the Hi-Float into the balloon.
Fill The Balloon With Helium
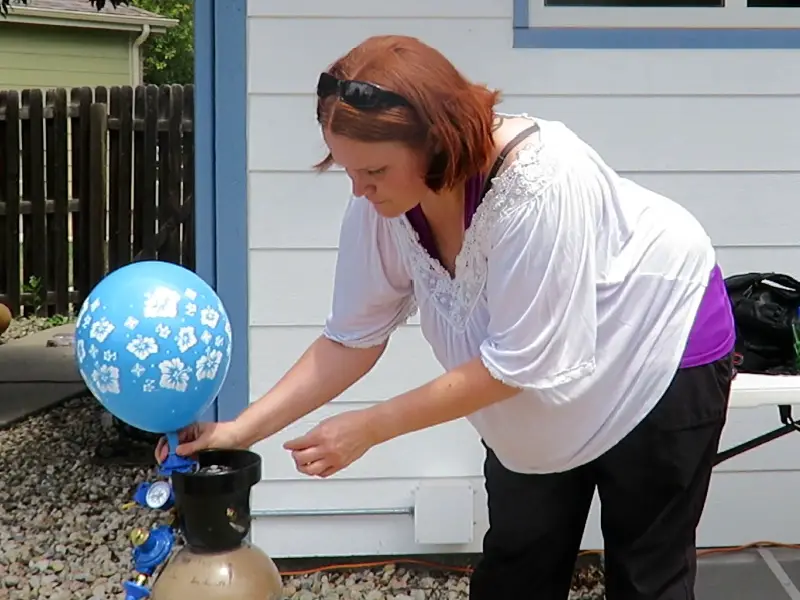
Fill your first balloon with helium. I like to use the eyeball sizing method when filling balloons for a floating balloon arch or String Of Pearl Arch. If you need more information about the eyeball method of balloon sizing, check out my post Best Way To Size A Balloon – Balloon Sizer.
Attach Balloon To Fishing Line
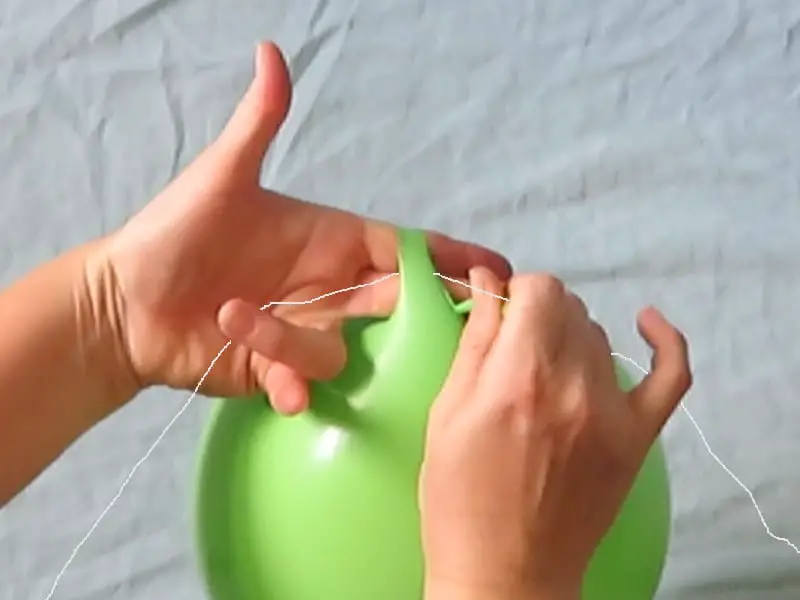
Attach the balloon to the fishing by tying the balloon around the fishing line you attached to the balloon weight in step 2.
If you need help tying your balloon, check out my post How To Tie A Balloon.
It can take some practice to master this skill, but once you do, your balloon creations will benefit.
Continue Attaching Balloons
Continue inflating balloons and attaching them to the finishing line. Use the distance from your elbow to your wrist to evenly space the balloons on the fishing line.
Pro Tip: Barely moisten the fishing line with water to avoid popping balloons as you adjust your balloons by gently sliding the balloon along the fishing line.
Tie Balloon Weight To Fishing Line
Tie the end of your fishing line to the second of your balloon weights.
Attach Curling Ribbon To Each Balloon (Optional)
This is an optional step but it can really add a beautiful touch to a Floating Balloon arch or String Of Pearl arch.
Tie a 6″ – 12″ piece of curling ribbon to each balloon and curl with a closed pair of scissors.
Enjoy!
Simple String of Pearl Arch Video
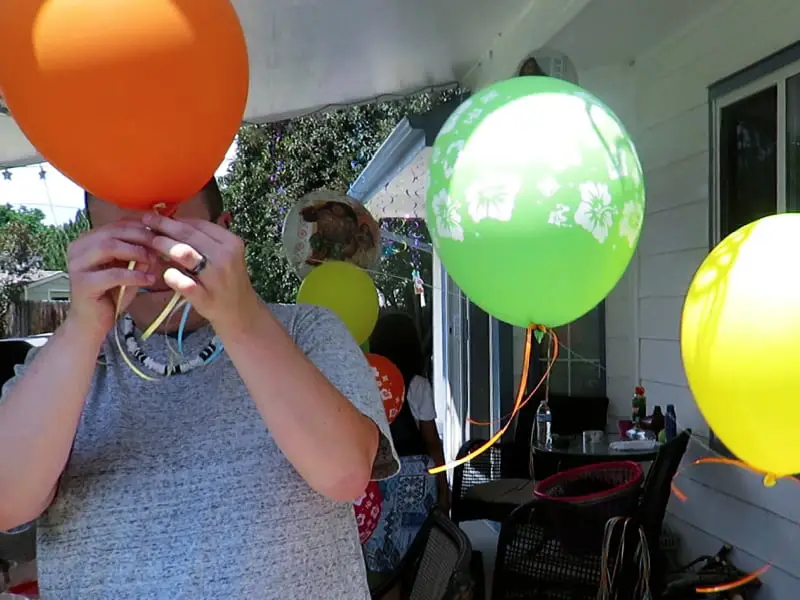
Different Types Of Floating Balloon Arches
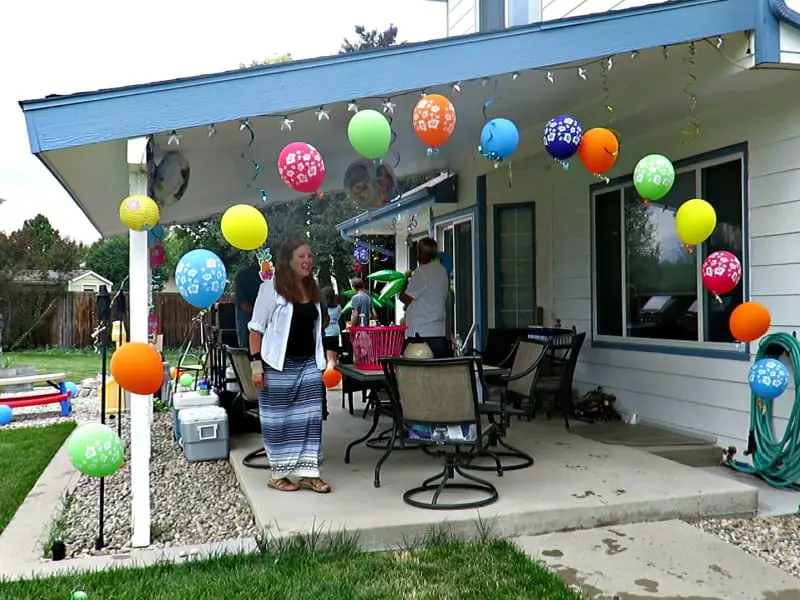
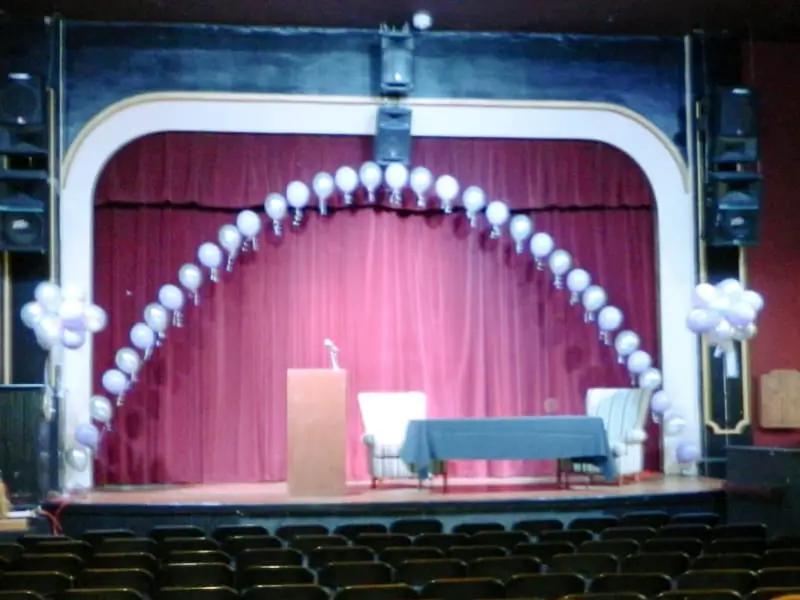
Floating balloon arches can be great for filling up large spaces or blank walls. Floating balloon arches can be as big or as small as they need to be, which makes them highly versatile.
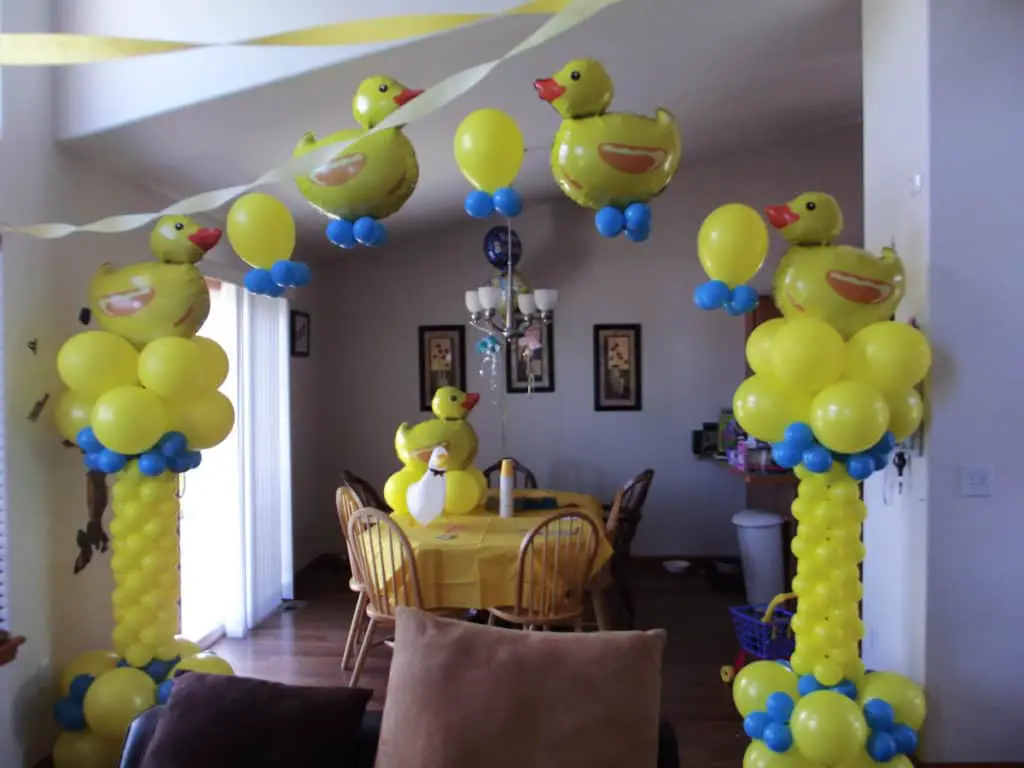
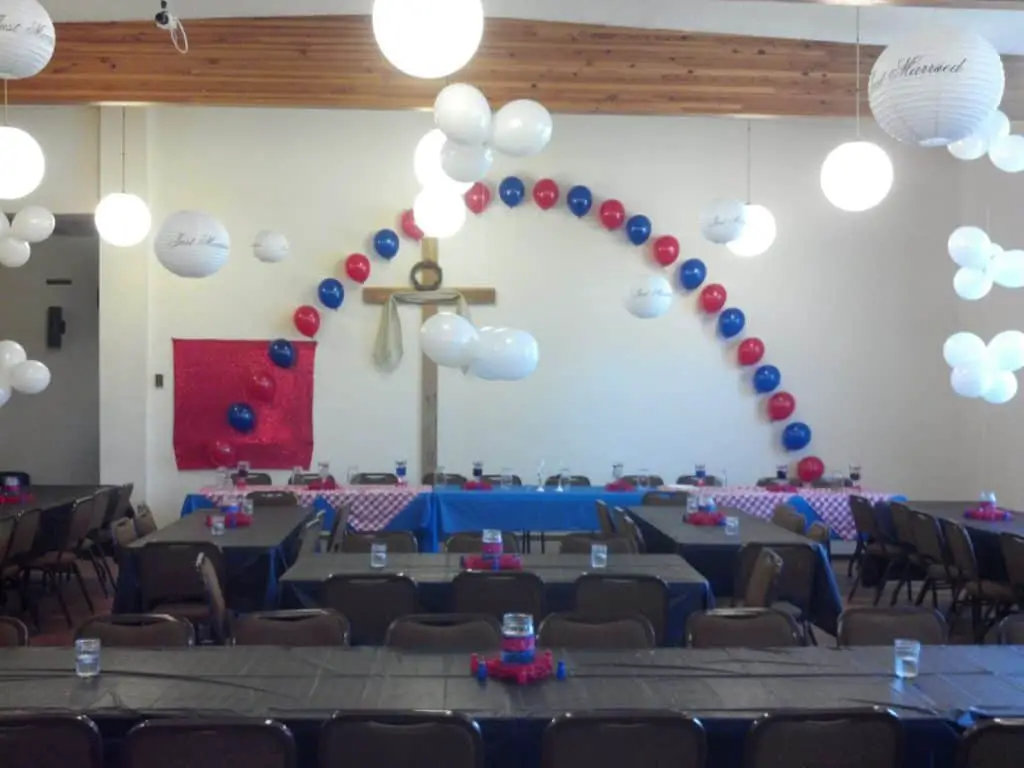
Floating balloon arches can be used in conjunction with other balloon elements, such as columns, to create a completely custom design.
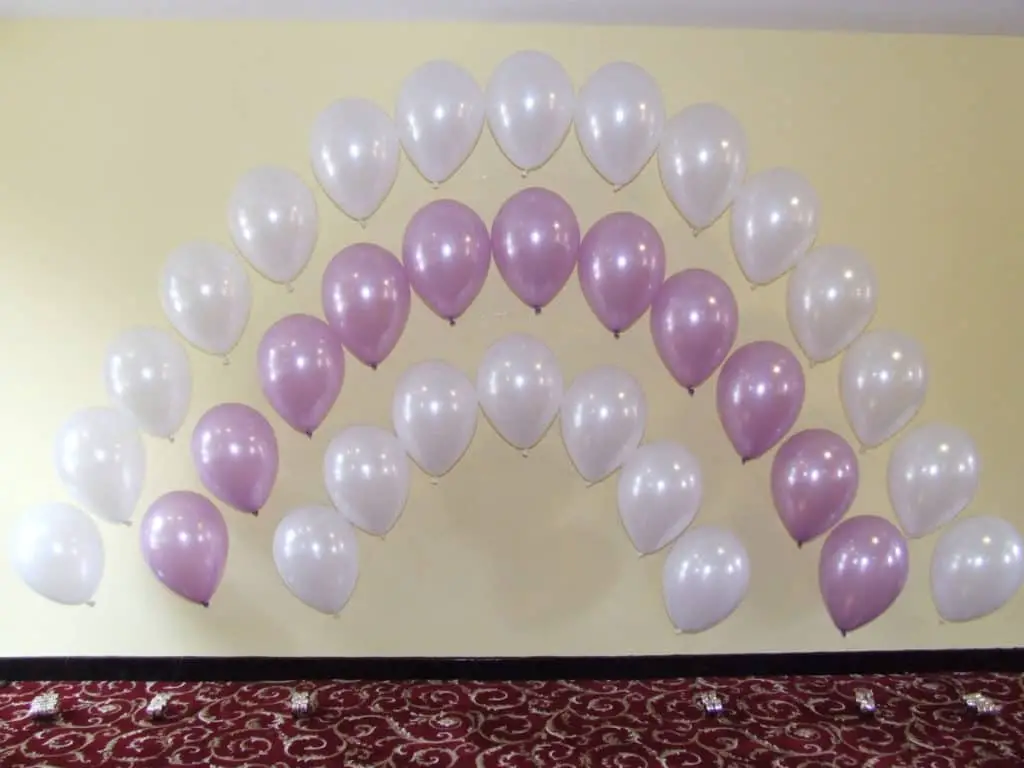
Floating balloon arches can be layered with other floating balloon arches to create a more dramatic effect.
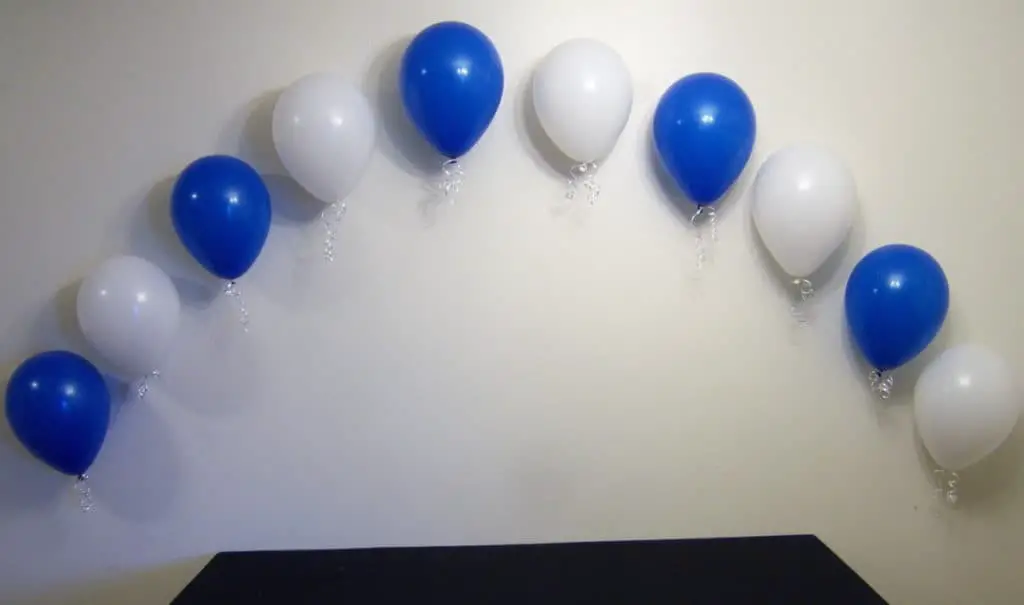
Floating balloon arches can be used as tabletop arches, to accent a gift table or highlight a guest sign in table.
How Many Balloons Do You Need
Typically you will place one balloon for every foot, or every elbow to wrist distance, minus the distance between balloon and balloon weight. Below is a table that will help you determine how many balloons for each color you will need depending on how many colors of balloons you will use, with an average of 1 balloon for each foot.
| Feet Of Arch | Single Color | Two Colors | Three Colors | Four Colors |
| 10 | 8 | 4 | 3 | 2 |
| 20 | 18 | 9 | 6 | 5 |
| 30 | 28 | 14 | 10 | 7 |
| 40 | 38 | 19 | 13 | 10 |
| 50 | 48 | 24 | 16 | 12 |
| 60 | 58 | 29 | 20 | 15 |
I hope this post brought value to your day. If it did, please consider sharing it with a friend or on your favorite social media. Thanks For Reading Fun With Balloons!
