
This post contains affiliate links.
There are several different ways to make a DIY Balloon Box, this post is going to focus on the foam board method. Foamboard balloon boxes are easy to make and extremely versatile. You could make these foam board balloon boxes out of dollar store foam board but I prefer not to because dollar store foam boards aren’t as easy to work with.
Check out these other balloon box posts DIY Balloon Box – PVC Balloon Box and DIY Balloon Box – Paper Balloon Box (Cardstock / Folder).
Steps To Make Foamboard Balloon Box
- Gather All Your Ingredients
- Measure And Cut Each Side
- Measure And Cut Each Hole
- Tape And Assemble
- Paint (Optional)
- Add Clear Sheet Protectors (Optional)
- Add Balloons (Optional)
- Enjoy!
1. Gather All Your Ingredients
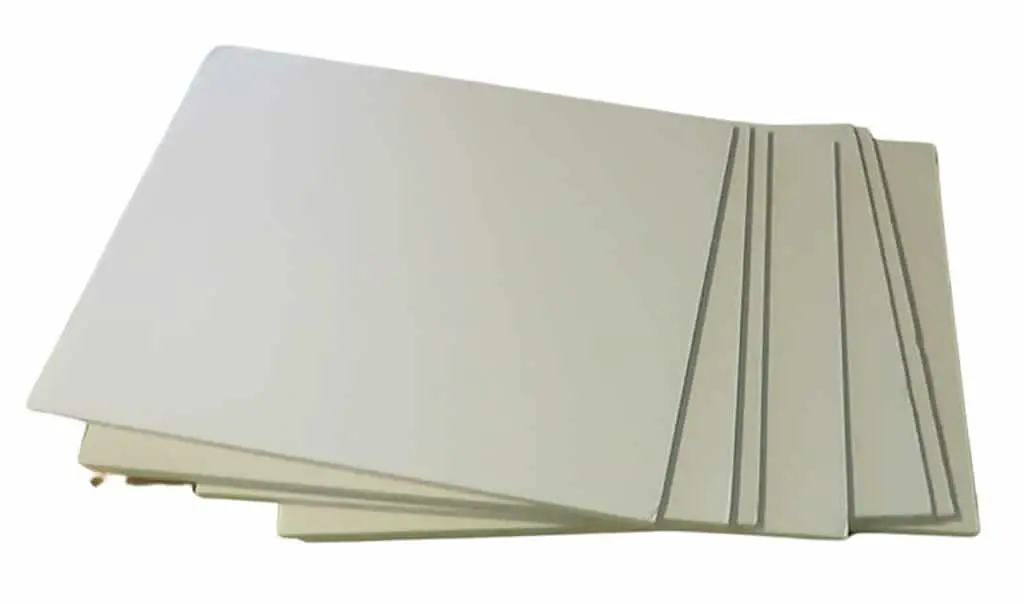
- Foamboard
- Ruler/Straight Edge
- Pencil
- Exacto Knife (or similar)
- Clear Packing Tape
- Clear Sheet Protectors (Optional)
- Balloons (Optional)
2. Measure And Cut Each Side
I found these incredible 12″ x 9″ pre-cut foamboard pieces on Amazon. You could cut them all down to 9″ if you want a square but I also like to use them as-is and make a 12″ x 9″ cube.
If you decide to use these pre-cut foamboard pieces, you will need 4 full sized and 2 cut down to 9″ x 9″.
If your foamboard is a sheet, measure and cut out 6 12″ (30 cm) squares (or whatever size sides you want).

3. Measure And Cut Each Hole
Once you have your 6 sides cut out, measure 1″ (2.5 cm) in from each side and draw a line. Continue doing this for all four sides until you have a square (or rectangle depending on the size of your side).
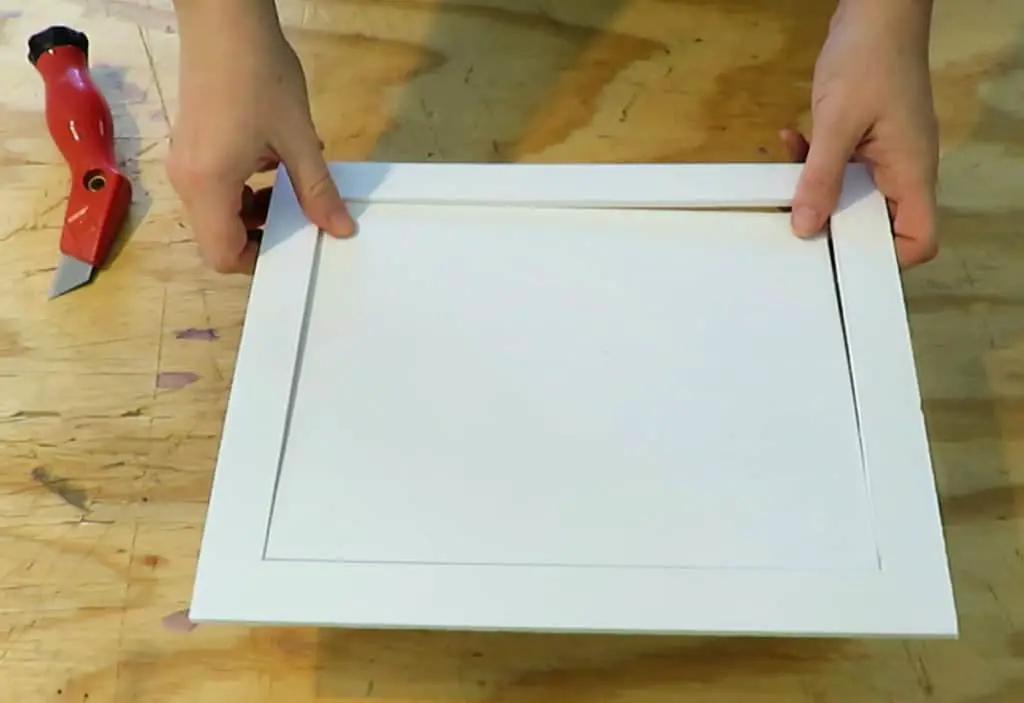
After you have each square measured, cut out each square (or rectangle). You will want to make sure the blade on your knife is sharp.
*If you are doing this professionally, you should have a good quality knife with replaceable blades. You will want to change your blade every time you start a new project to ensure you get a straight, accurate cut every time. Make sure to include the price of a new blade in the amount you charge your client.
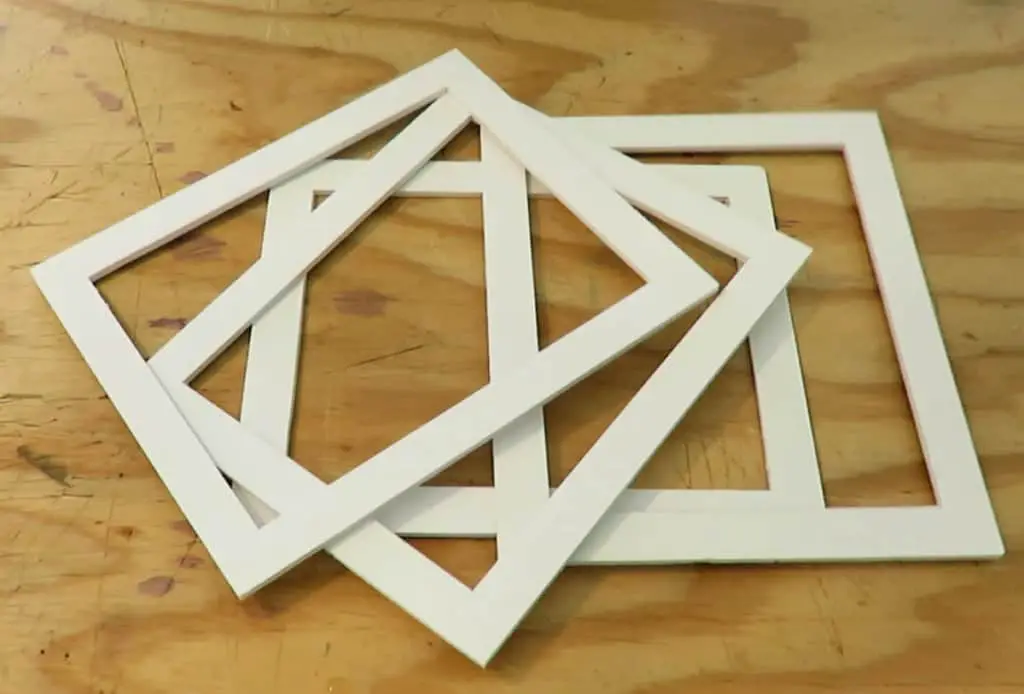

4. Tape And Assemble
Lay out four squares (or rectangles) side by side. Lay two more squares on the ends of the second square (or rectangle) as shown in the picture.
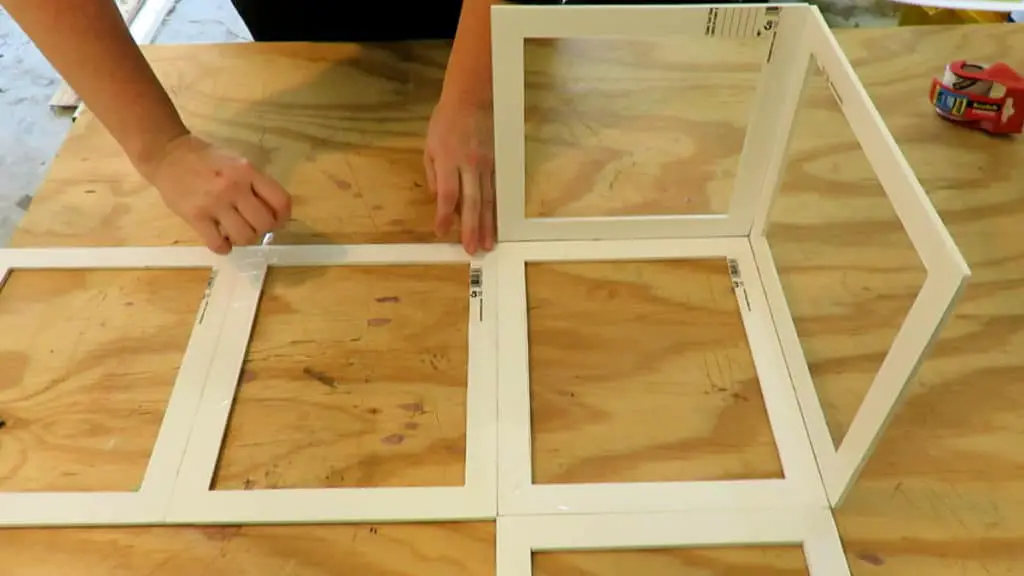
Using the clear packing tape, tape the edges of the connecting squares (or rectangles) together. One at a time lift the sides up to form a box. As you lift one side, tape it to the adjoining side.
5. Paint (Optional)
Sometimes I paint my Foamboard Balloon Boxes and sometimes I don’t, it all depends on the look I am going for.
6. Add Clear Sheet Protectors (Optional)
This is an optional step and I only do this step if I need to add a letter to the side.
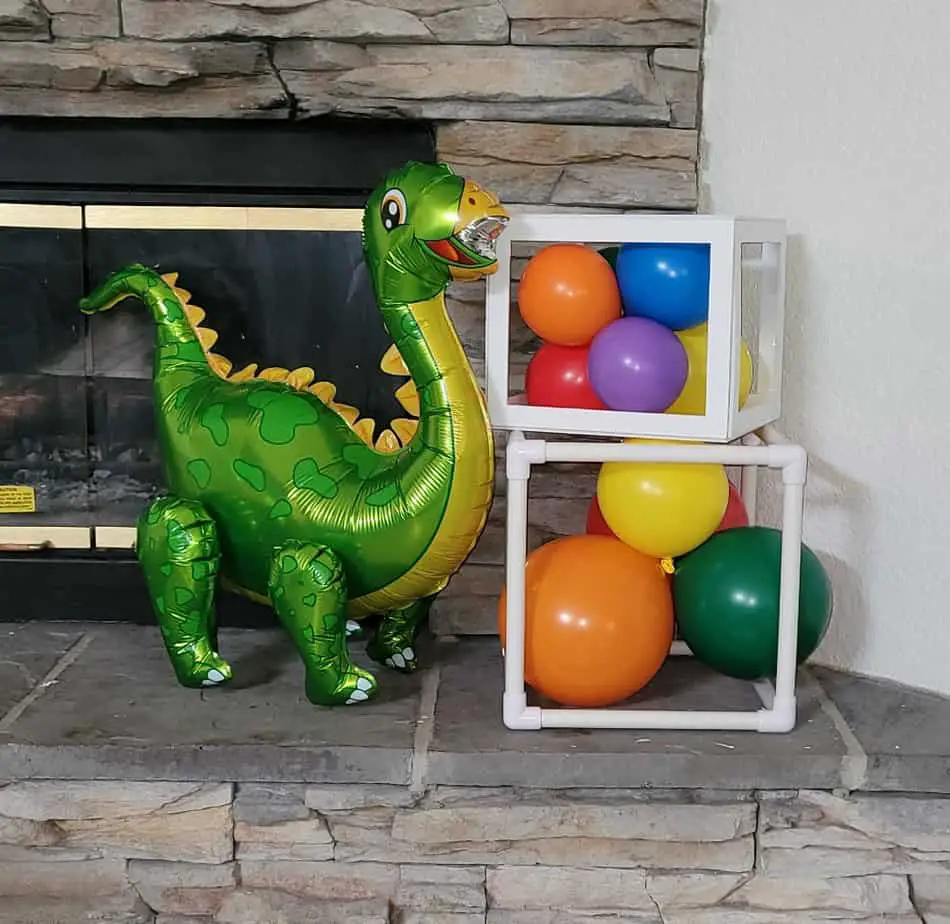
7. Add Balloons (Optional)
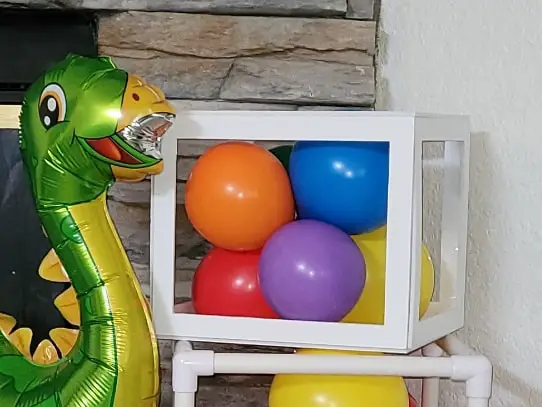
8. Enjoy!
Balloon Box – Foamboard Video
I hope this post brought value to your day. If it did, please consider sharing it with a friend or on your favorite social media. Thanks For Reading Fun With Balloons!