
This post contains affiliate links.
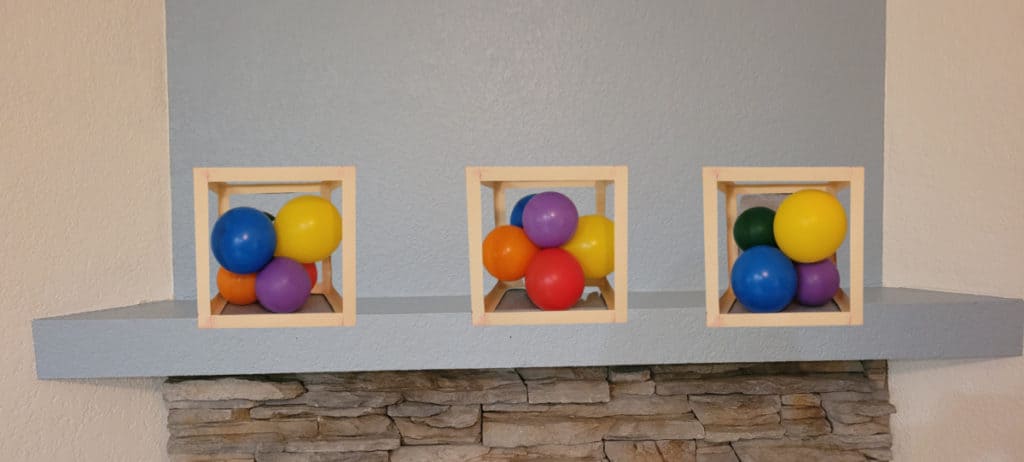
Have you ever seen a box filled with balloons? Sometimes they have letters and look like the ABC blocks that a child would play with. Balloon Boxes aren’t anything new, they have been around for a long while but they have certainly gained popularity in recent years.
In this tutorial, I’m going to show you how you can make your very own paper balloon box, (cardstock, or from a manila folder). Plane paper is the flimsiest way to make a balloon box, but I have done it and it worked for what I needed. Although, if I have other options I would use those first.
Check out some of our other balloon box posts DIY Balloon Box – PVC Balloon Box and DIY Balloon Box – Foamboard Balloon Box.
When making a balloon box from paper, my favorite option is using the manila folder method. I always have lots of manila folders laying around.
Steps To Make Paper Balloon Box
- Gather All Your Ingredients
- Cut Paper / Cardstock / Folder
- Fold In Half
- Glue
- Paint (Optional)
- Add Clear Sheet Protectors (Optional)
- Add Balloons (Optional)
- Enjoy!
1. Gather All Your Ingredients
- Paper/Cardstock/Folders
- Scissors
- Ruler/Straight Edge
- Pencil
- Exacto Knife (or similar)
- Glue or Tape
- Clear Sheet Protectors (Optional)
- Balloons (Optional)
*you can use regular paper, cardstock, or a manila folder. I don’t like using just regular paper because it doesn’t hold up as well but it can be done.

2. Cut Paper / Cardstock / Folder
Cut the paper, cardstock, or folder into 12 strips of 11-3/4″ x 2″ (30 cm x 5 cm). For this example, I used a folder. I also used the folder size (11-3/4″) so I wouldn’t have to make so many cuts.

3. Fold In Half
Fold the strips of paper, cardstock, or folder in half.

4. Glue
Glue four strips together, only gluing half of the strip to half of another strip. I used everything from a glue stick, to craft glue and even tape. I tend to just use what I have on hand. This particular time I just used a glue stick.

Continue gluing four more strips as the sides on the box. This time glue both exterior edges of the strip and place them inside each corner of the square you made in the previous step. Make sure to only glue half of the strip to half of the other strip.


Keep gluing strips until it forms a box. After all the strips are in place and it looks like a box, I like to go over all the corners and edges where the strips meet and add a little extra glue.
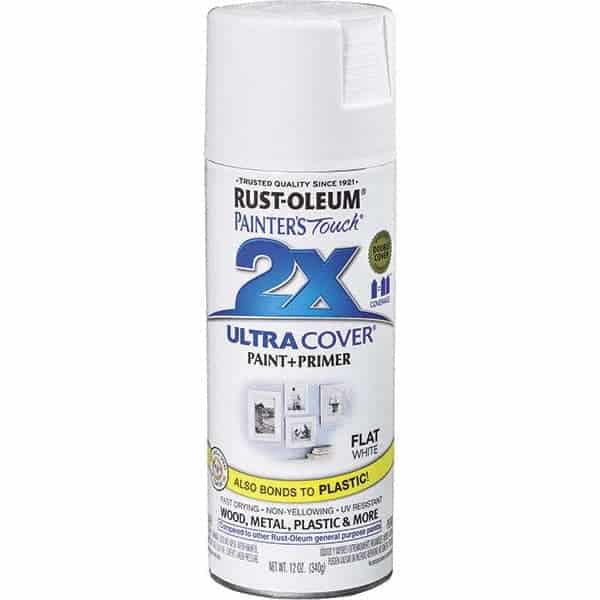
5. Paint (Optional)
This is an optional step, sometimes I paint mine and sometimes I don’t. If you use a folder, the box will be the color of whatever folder you use. A standard folder is a yellow color. When I paint these, I usually just paint them white but it would depend on what other decor I’m creating.
I typically use just a basic spray paint when I paint these.
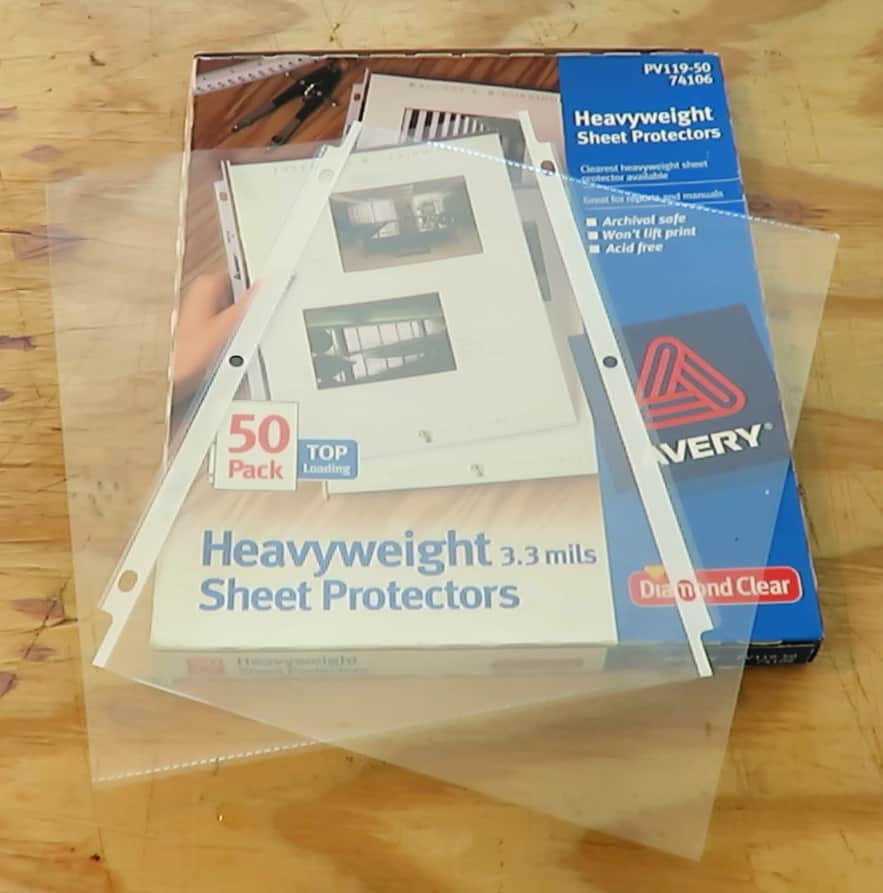
6. Add Clear Sheet Protectors (Optional)
Adding clear sheet protectors is an optional step. It can be super helpful if you plan to put letters on the sides of your box. But if I don’t plan on putting letters on the sides, I don’t usually bother putting the sheet protectors on the balloon box.
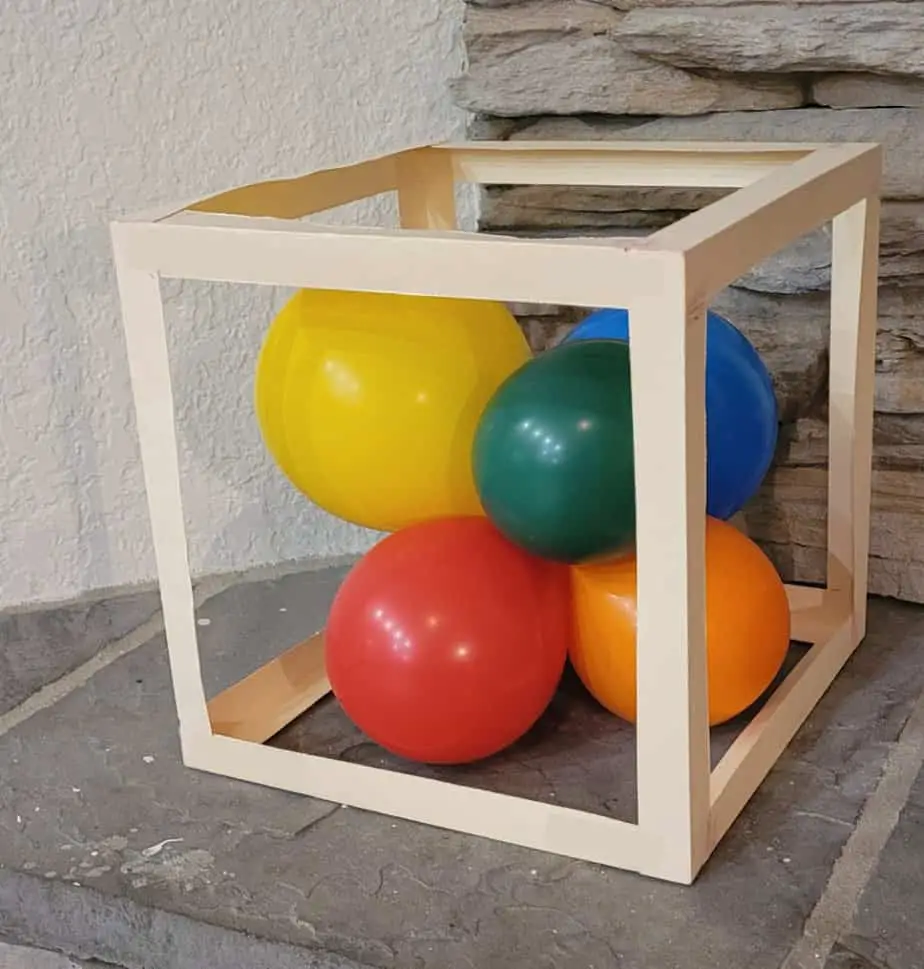
It should be noted that if you plan to fill your box with balloons you will need to leave one of the sides off until you fill it with balloons and then close the box after it is filled with balloons.
7. Add Balloons (Optional)
Adding balloons is an optional step but definitely a worthwhile step, especially if you are making a balloon box.
If you
8. Enjoy!
Paper Balloon Box – Paper/Cardstock/Folder Video
I hope this post brought value to your day. If it did, please consider sharing it with a friend or on your favorite social media. Thanks For Reading Fun With Balloons!